Trezor.io/start – The Official Guide to Secure Crypto Setup (2026)

Welcome to the complete Trezor.io/start guide — your official, trusted source for initializing, securing, and managing a Trezor hardware wallet. If you purchased a Trezor Model One, Trezor Model T, or another supported Trezor device, starting at Trezor.io/start is the only safe way to begin your crypto self‑custody journey. (io-strt-trezar.framer.media)
In this article, we explain why Trezor.io/start matters, how to set up Trezor securely, what keywords like “hardware wallet security,” “Trezor Suite,” “recovery seed,” and “official Trezor start page” mean in real terms, and how to protect your digital assets from scams, phishing, or fake start pages.
What Is Trezor.io/start? – Your Official Start Portal
Trezor.io/start is the official onboarding and setup portal maintained by SatoshiLabs for all Trezor hardware wallets. It’s the first page you should visit after unboxing your device. This portal helps you:
- Select your specific Trezor model (e.g., Trezor Model T, Trezor Model One).
- Download the official Trezor Suite application (desktop or web).
- Install verified, secure firmware.
- Generate and secure your recovery seed phrase.
- Set a strong PIN and optional passphrase.
- Begin safely sending and receiving cryptocurrency. (io-strt-trezar.framer.media)
Why start at the official Trezor.io/start page? Because it protects you from phishing sites and fake software, ensures you download only authentic apps, and guards your private keys against online theft. (help-base-start-io.typedream.app)
Visit the official start page now: https://trezor.io/start
Why Trezor.io/start Is Important for Crypto Security
Cryptocurrency ownership is unique: you control your own private keys. Unlike an exchange or hosted wallet, no company holds your keys for you. This is powerful, but also risky. If your private key is lost or stolen, so are your funds.
That’s where Trezor hardware wallets and Trezor.io/start come in:
Hardware Wallet Security
Hardware wallets like Trezor store private keys offline inside a secure chip. Your keys never touch the internet or your computer’s operating system. This minimizes exposure to malware, keyloggers, spyware, and phishing attacks that target software wallets or exchanges. (io-strt-trezar.framer.media)
Official On‑Device Setup
Every step initiated by Trezor.io/start — from firmware updates to seed generation — happens with on‑device confirmations. This ensures:
- Private keys are generated inside the device only.
- Firmware is verified only via official channels.
- Every transaction is physically approved by you. (trezr-start-support.framer.ai)
This layered security makes Trezor one of the most trusted choices for hardware wallet users.
Before You Begin: What You’ll Need
Before accessing Trezor.io/start, prepare the following:
1. A Genuine Trezor Device
Only use devices bought directly from the official Trezor Shop or trusted retailers. Check packaging seals and serials for tamper evidence. (help-base-start-io.typedream.app)
2. A Secure Computer
Use your personal machine with a modern browser (Chrome, Firefox, Edge). Avoid public or untrusted computers.
3. A USB Cable
The cable bundled with your Trezor allows the device to communicate securely with your computer.
4. A Quiet, Private Space
Preparation ensures your recovery seed is generated and recorded offline.
Now open your browser and go to https://trezor.io/start. Always type the URL yourself — never click links from emails or chats.
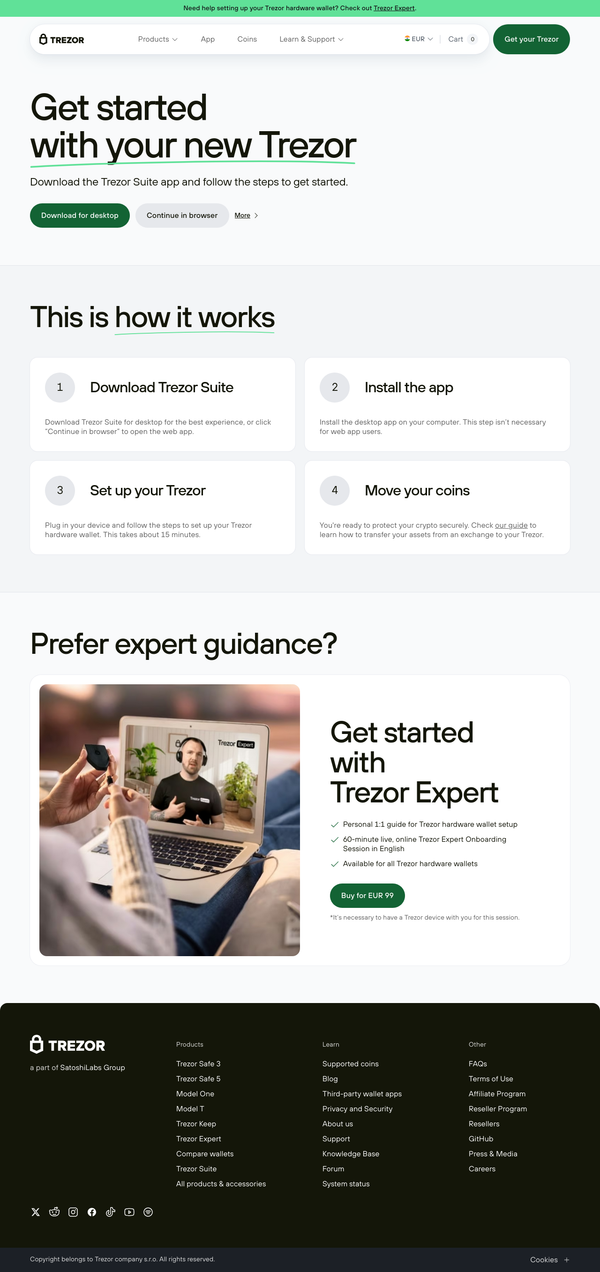
Step‑by‑Step Setup via Trezor.io/start
1. Connect Your Device
Plug your Trezor into your computer using the provided USB cable. You should see a welcome screen on the device.
2. Download Trezor Suite
From Trezor.io/start, download the official Trezor Suite application — the secure companion software for account management and transactions. (io-strt-trezar.framer.media)
✅ Both desktop and browser versions are available.
🚫 Avoid third‑party wallets unless verified as official partners.
3. Verify & Install Firmware
The setup flow will automatically check whether your firmware is current. Install updates through the official prompts — never install firmware from unknown sites. (io-strt-trezar.framer.media)
4. Create or Recover a Wallet
If this is your first time, select Create a new wallet.
Your device will generate a recovery seed — a set of 12–24 words. Write this down on paper or a metal backup. Never store it digitally, photograph it, or email it. (io-strt-trezar.framer.media)
Security Best Practices from Trezor.io/start
Following correct security habits will protect your crypto well after setup.
Write and Store Your Seed Offline
Your recovery seed is the only way to restore your wallet. Anyone with access to this seed controls your crypto — so store it offline and in a secure place.
Set a Strong PIN
Choose a PIN that isn’t easily guessable. This protects the device if someone gets physical access.
Verify Everything On‑Device
Always confirm addresses, amounts, and prompts on the Trezor device screen — not on the computer.
Avoid Phishing & Scams
Only use Trezor.io/start for setup. Trezor support teams will never ask for your seed words or PIN.
Using Trezor Suite After Setup
Once your device is configured, Trezor Suite becomes your primary dashboard to:
- View balances
- Send and receive crypto
- Manage account labels
- Add assets or networks
- Confirm transactions physically on your device (io-strt-trezar.framer.media)
Make sure to open Suite from links provided through Trezor.io/start — bookmarking both ensures you always load official software.
Final Thoughts: Start Securely at Trezor.io/start
Trezor.io/start is more than just a homepage — it’s the gateway to safe, self‑custodial crypto ownership. From firmware to seed generation, every step is designed to protect your assets.
Whether you’re new to hardware wallets or transitioning from exchanges, begin at the official start page:
👉 https://trezor.io/start — for secure, official setup and ongoing guidance. (io-strt-trezar.framer.media)